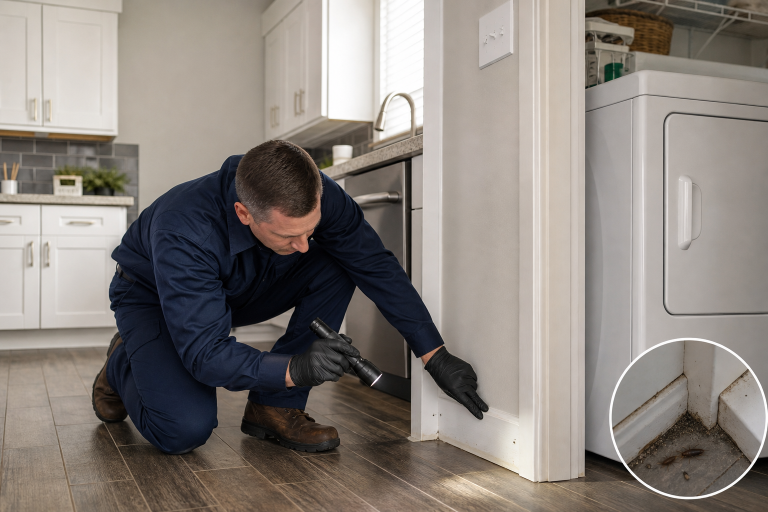
Seasonal Pest Prevention Checklist for a Safer Home
A seasonal pest prevention checklist works best when it focuses on the conditions that let pests enter, feed, and stay. Closing a gap before activity starts is usually simpler than treating a recurring indoor problem later, and it reduces the need to use pesticides as a reaction to intrusion.
Seasonal changes alter the pressure on a house. Spring rain can expose drainage problems, summer landscaping can touch siding, fall can bring pests toward sheltered spaces, and winter can reveal gaps around pipes and utility lines. A common approach is to inspect a few systems at the right time rather than applying the same product around the home every season.
What should a seasonal pest prevention plan prioritize?
Start with exclusion, moisture control, food storage, and routine inspection, in that order. The U.S. Environmental Protection Agency describes integrated pest management as an approach that first removes food, water, and shelter and blocks pest access, then uses monitoring and targeted control methods when needed in its Integrated Pest Management Principles.
This is a more useful checklist than a broad calendar of sprays because each task addresses a specific condition. A torn screen is an entry route. A wet cabinet below a plumbing connection is a water source. Crumbs under an appliance are food. Identifying the condition also makes it easier to judge whether the work solved the problem.
Keep a simple record of what you find: the location, date, pest or evidence observed, and any change you made. A record can distinguish a one-time outdoor visitor from a pattern that warrants more extensive exclusion or a professional inspection.
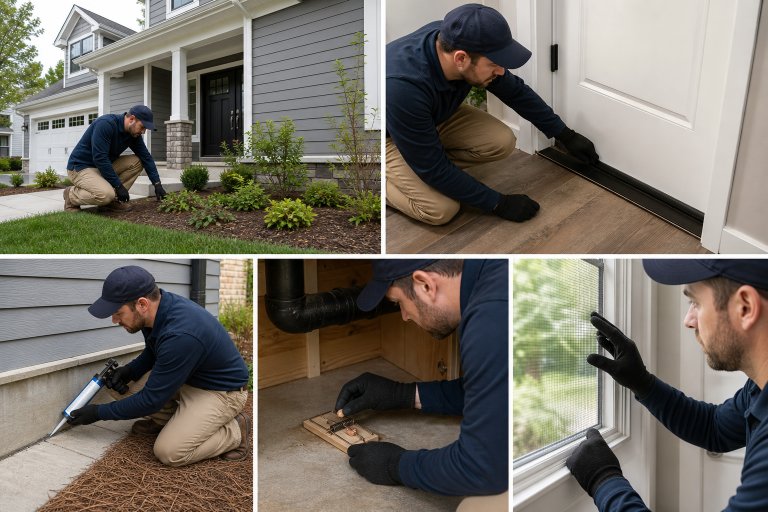
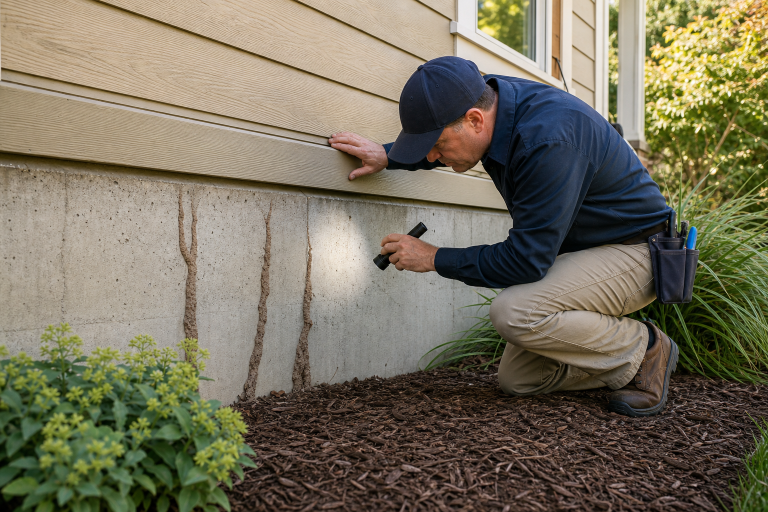
- Inspect doors, windows, vents, siding penetrations, screens, and the foundation edge for openings or damage.
- Correct standing water, plumbing drips, overflowing gutters, and wet stored materials.
- Store dry food and pet food in closed containers, clean spills, and empty indoor trash regularly.
- Reduce indoor clutter and keep stored items raised where practical so activity is easier to spot.
- Use a treatment only for an identified pest and only in the location and manner stated on its label.
A pesticide product is not a substitute for repairing the condition that attracted the pest. If an opening remains open or moisture persists, repeat applications can become an expensive routine without resolving the source of the issue.
What belongs on a spring pest prevention checklist?
Spring inspection should concentrate on water management and damage left by winter weather. Walk the exterior after rain and look for water pooling near the foundation, overflowing gutters, disconnected downspouts, and areas where mulch or soil is piled against siding. Correcting a drainage or grading issue may require a contractor, but clearing a blocked gutter outlet or moving loose debris is often the smaller first step.
Check window screens, door sweeps, weatherstripping, and garage-door seals while windows and doors are being used more often. Repairing a screen frame or replacing a worn sweep is more precise than treating a whole room because the work targets the route rather than the symptom.
Outdoor plants also deserve attention before growth becomes dense. Keep shrubs and vines trimmed back from siding, roof edges, and utility equipment. Maintain a visible inspection space around the exterior so damaged cladding, nests, or gaps are not hidden by vegetation. Avoid sealing an opening if there is evidence that an animal is currently using it, since the correct approach depends on the animal and local wildlife rules.
Indoors, inspect under sinks, behind the refrigerator, around the dishwasher, and near laundry connections for dampness. A leak needs repair before any pest product is considered. The EPA’s prevention guidance identifies elimination of moisture and food sources as a core way to make homes less hospitable to pests.
How should summer pest prevention change around the house?
Summer maintenance should limit access through frequently opened doors and reduce outdoor conditions that draw pests close to the home. Test screen doors and window screens for tears, make sure they close fully, and address gaps at thresholds. A door that needs adjustment may leave a visible opening even when its weatherstripping appears intact.
Pay close attention to trash and food-handling areas. Use containers with secure lids, rinse recyclable food containers where local collection rules permit, and do not leave pet food outdoors overnight. In kitchens, wipe counters and sweep beneath movable appliances often enough to remove food residue before it builds up in inaccessible areas.
Outdoor lighting is worth reviewing, but it is not a complete pest-control strategy. Turning off decorative lights when they are unnecessary or moving a light away from a door can reduce insect activity immediately around an entry. It will not correct a torn screen, a missing sweep, or a gap around a utility line.
Check outdoor faucets, irrigation connections, air-conditioning condensate discharge, and low spots after watering. The objective is to avoid persistent wet areas beside the structure. For broader home-system upkeep, Abodence’s HVAC maintenance snapshot explains why routine inspection of cooling equipment and its drainage matters.
What should homeowners inspect before fall weather arrives?
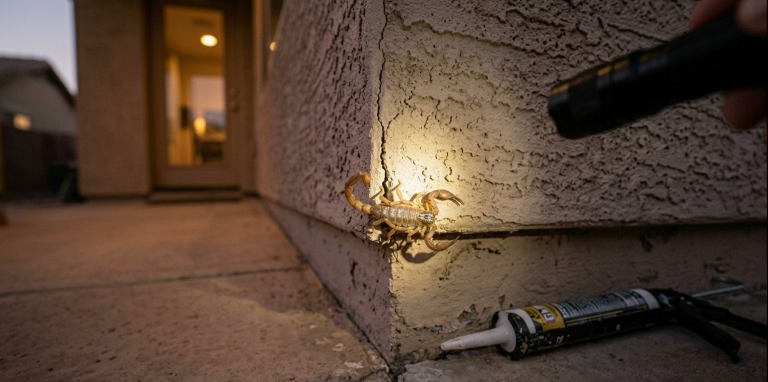
Fall is the time to concentrate on exterior openings before colder conditions make sheltered areas more attractive. Examine where cables, pipes, refrigerant lines, and other utilities pass through walls. Also inspect foundation vents, attic vents, chimney caps, and gaps at roof-to-wall intersections from a safe viewing position. A damaged cap, loose vent screen, or failed sealant should be repaired with a material suited to that location.
Do not rely on expanding foam alone where a durable barrier is needed. Foam may fill an irregular void, but its suitability depends on the opening and the animal involved. A professional can specify an appropriate exclusion material when an opening is large, inaccessible, associated with a roofline, or shows continued activity after a basic repair.
Bring in firewood, cardboard boxes, seasonal decorations, and stored goods only after checking them. Store these items off the floor and away from walls when feasible. That arrangement improves visibility during later checks and avoids creating concealed resting areas in a basement, garage, or shed.
Clean leaves from gutters and direct downspout discharge away from the foundation. This is primarily a water-management task, but it also removes damp debris that can accumulate beside the house. If roof damage or deteriorated flashing is allowing water into the structure, review the warning signs in this roof replacement warning signs guide before deciding whether a localized repair is enough.
What maintenance matters most during winter?
Winter checks should focus on indoor evidence and on keeping storage, food, and waste areas orderly. Look in quiet locations such as the back of cabinets, the utility room, basement corners, and the garage. Fresh damage to packaging, droppings, nesting material, or repeated sightings calls for identifying the pest and finding its access route, not guessing based on a single sign.
Inspect stored food, including dry goods and pet food, and discard anything with damaged packaging or evidence of contamination. Keep replacement supplies in sealed containers rather than in their original thin bags or boxes. Cleaning a shelf and securing food is usually the right first response to a pantry issue. Treating food-storage shelves without identifying the product’s label directions is not.
Condensation on pipes, windows, or cold surfaces can point to a ventilation, insulation, or humidity issue. Dry the affected area and investigate the cause. Repeated moisture inside a wall, ceiling, or cabinet deserves a qualified assessment because surface cleanup alone does not correct the water source.
When does a pest issue need more than a checklist?
Professional help is appropriate when activity continues after exclusion and sanitation, when the pest cannot be confidently identified, or when the suspected access point is unsafe to reach. It is also sensible for insects that may be nesting in a wall, animals in an attic or crawlspace, widespread activity across several rooms, or a problem connected to structural moisture.
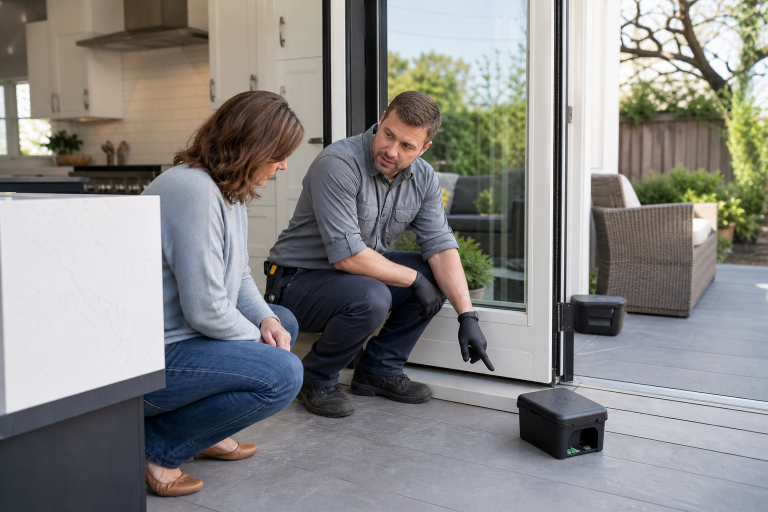
Ask for a written inspection finding and a clear scope before authorizing treatment. The document should identify the pest if possible, describe entry points or contributing conditions, state the treatment area and product approach, explain what preparation is required, and separate exclusion work from pesticide application. Vague proposals that promise to “spray the property” without identifying the pest leave the homeowner unable to compare the work or verify whether the source will be addressed.
For any pesticide, the product label controls where and how it may be used. The EPA explains in its guide to understanding pesticide labels that labels include directions, precautions, and use limitations. Follow those directions exactly, including instructions concerning people, pets, food-contact areas, ventilation, and reentry. When in doubt, ask the treatment provider to explain the label-based plan before work begins.
A targeted inspection can be the better purchase than an open-ended service plan when there is one clear, localized problem. Ongoing service may make sense when monitoring documents recurring activity, but the scope should still include inspection and prevention rather than repeated treatment without a defined reason.
FAQ
How often should a home be checked for pest entry points?
A quick exterior check at the start of each season, plus an inspection after severe weather or a repair project, gives most homeowners a workable schedule. Check sooner when you notice damaged screens, a new water leak, or repeated indoor activity in the same location.
Should homeowners use pesticide as a seasonal preventive measure?
Routine pesticide use is not the first step in the EPA’s integrated pest management framework. Start by removing food, water, shelter, and access, then use a product only when there is an identified pest and the label permits the intended application.
What is the first thing to do after finding signs of pests indoors?
Document the location and type of evidence, then inspect nearby food, water, clutter, and potential openings. This narrows the cause and helps a pest professional give a specific recommendation if the activity continues.
Can landscaping contribute to pest problems?
Vegetation and debris pressed against a house can hide exterior defects and retain moisture near the structure. Keep plant growth trimmed back enough to inspect the siding, foundation edge, windows, and utility penetrations.
If recurring activity, a hard-to-reach entry point, or building moisture is part of the problem, request a written assessment from a qualified local pest professional and compare the proposed exclusion work with the treatment plan. For a free, no-obligation discussion please call a listed specialist.