Window Sealing Before El Niño: Smart Steps to Stop Rain Leaks and Drafts
Window sealing before an El Niño event starts with finding where water and air are actually getting in, then fixing the seal path in the right order: glass, sash, frame, trim, and exterior drainage. If you are dealing with wet-winter drafts and leaks, the practical goal is not to guess. It is to separate a failed sealant or weatherstrip from a larger window failure before the rainy season exposes it.

Call for a free estimate:
According to the U.S. Department of Energy, air can leak around frames, sashes, and glazing, and weatherstripping or caulking can help reduce those leaks when the window itself is still in serviceable condition. According to the same DOE guidance, replacement makes more sense when the unit is beyond repair or when broader performance upgrades are part of the plan.
For weather sealing and leak control, the first decision is simple: repair is usually the right move when the problem is limited to worn weatherstripping, cracked sealant, minor trim gaps, or localized water entry at the perimeter. Replacement becomes the better call when the frame is rotted, the sash no longer operates correctly, the insulated glass seal has failed, or repeated leaks point to a deeper installation problem.
What should you check first when windows or doors leak during a wet winter?
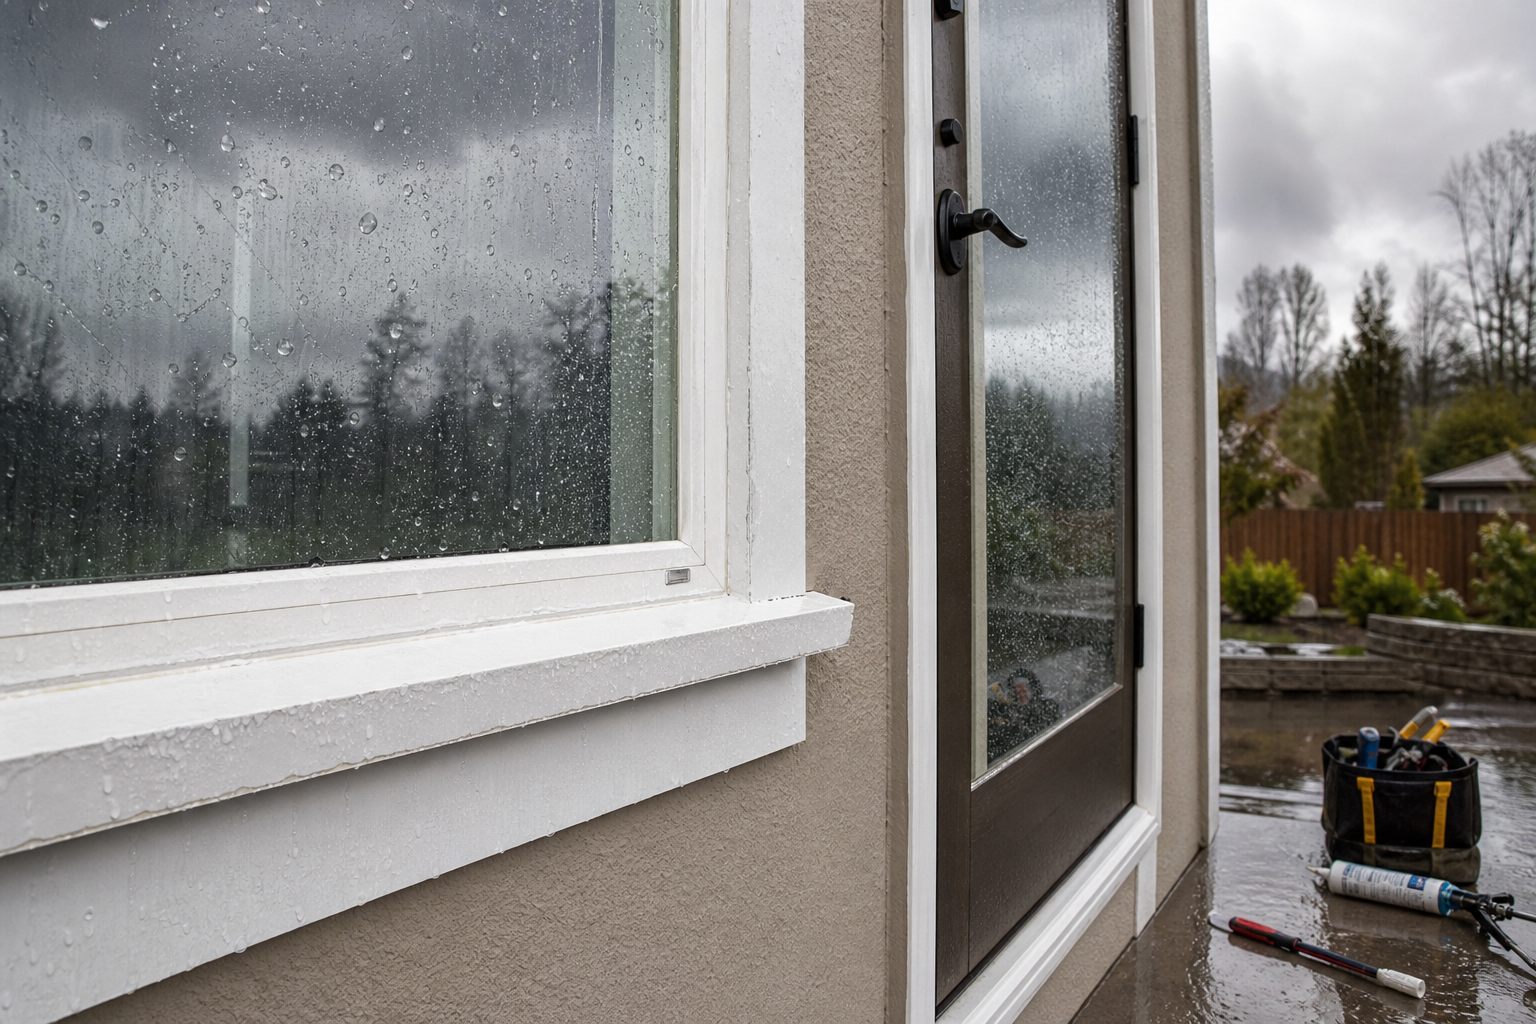
A tactical inspection starts outside, because many rain leaks begin at failed perimeter sealant, missing flashing details, or drainage paths that direct water toward the opening. Begin with the head casing, side trim, sill area, and the joint where the frame meets siding or masonry. Look for cracked caulk, open joints, peeling paint, soft wood, or stains below corners.
Move next to the operational parts. Check whether the sash closes evenly, whether the lock pulls the unit tight, and whether weatherstripping is torn, flattened, or missing. On doors, inspect the sweep and threshold. On windows, inspect the meeting rail, side jambs, and bottom corners where water often shows up first.
Inside, look for staining at the stool, drywall bubbling, darkened trim joints, and damp flooring near the opening. According to the International Association of Certified Home Inspectors, proper flashing and drainage details are critical because cladding and trim are not the primary water barrier. If water is bypassing those details, fresh caulk alone may not solve the problem for long.
If the leak only appears during wind-driven rain, pay attention to corners and upper trim joints. If the draft is strongest on cold, dry days, the issue is more often weatherstripping or air sealing than bulk water intrusion.
When is sealing and repair enough?
A limited repair is usually enough when the unit is structurally sound and the failure is confined to consumable sealing materials or small finish gaps. That includes brittle exterior caulk, worn weatherstripping, minor shrinkage gaps between trim and wall finish, and a door sweep that no longer contacts the threshold.
According to Andersen’s owner guidance for care and maintenance, weatherstrip and sealant components can wear over time and may need periodic replacement to maintain performance. Pella’s care guidance also treats these parts as maintainable components rather than proof that the whole unit has failed.
Common repairable conditions
- Cracked or separated exterior sealant at trim or frame edges
- Flattened, torn, or missing weatherstripping
- Small interior air gaps at casing or stool joints
- Door sweeps that no longer seal at the bottom edge
- Minor water entry tied to one exposed perimeter joint
These are the situations where paying for full replacement is often unnecessary. A careful reseal, targeted weatherstrip replacement, and adjustment of the sash or door panel may restore performance at much lower cost.
For related signs that a draft may still be repairable, see drafty window repair.
When is replacement the better option?
Replacement is the better option when the opening has structural deterioration, repeated water intrusion, failed insulated glass, or operating problems that sealing work cannot correct. In those cases, new caulk can hide the symptom for a season while the real damage continues.
According to the National Fenestration Rating Council, window performance depends on the complete product, including frame, glazing, and air leakage characteristics. If the sash is warped, the frame is out of square, or the glass seal has failed, the product may no longer perform as rated even with fresh perimeter sealant.
Conditions that usually justify replacement
- Soft, rotted, or delaminating wood in the frame or sill
- Fogging between panes that indicates insulated glass seal failure
- Sashes that will not lock or pull tight after adjustment
- Recurring leaks after prior sealing attempts
- Movement in the frame, visible racking, or separation from the wall
If you are trying to judge whether the unit itself is at the end of its life, this guide on window replacement warning signs is the more relevant next read.
How much does window sealing or repair usually cost compared with replacement?
For 2025 pricing, minor window or door sealing repairs commonly run from about $100 to $500 per opening, while full window replacement often lands in the hundreds to low thousands per unit depending on size, frame type, and installation scope. For a broader benchmark, Remodeling magazine’s 2024 Cost vs. Value Report lists national average project costs of $20,091 for a vinyl window replacement project and $25,799 for a wood window replacement project, based on a standard multi-window project rather than a single opening.
For smaller repair work, Angi’s 2025 marketplace cost data places window seal repair and related minor fixes in a much lower range than replacement, while HomeAdvisor’s 2025 marketplace estimates show similar separation between repair pricing and full replacement pricing. These are marketplace estimates, so they are best used as ranges rather than as a fixed quote standard.
The main cost drivers are straightforward: accessibility, number of openings, whether rotten material must be removed, and whether the leak is a simple perimeter reseal or an opening rebuild with flashing correction. A second-story opening with damaged trim and hidden substrate issues can move from a service repair into carpentry and replacement territory quickly.
What sealing work actually helps before a rainy season?
Effective pre-season work focuses on the exterior water path first, then the air seal at operable joints. In plain terms, stop rain from getting behind the trim, then tighten the parts that open and close.
Call for a free estimate:
Exterior perimeter sealing
Fresh sealant at failed joints can help when the joint is accessible, stable, and part of the intended exterior seal line. The target is the gap where trim or frame meets the adjacent cladding, not random surface cracks in old paint. Sealant should not block designed drainage paths at the sill or weep system.
What problems should you not try to solve with basic sealing?
Some leak patterns point beyond maintenance and into concealed water-management failure, and those should be evaluated by a qualified contractor rather than treated as a caulk job. Persistent leaks at the head of the window, water showing up far below the opening, and softness in the surrounding wall or sill are the main red flags.
You should also stop short of DIY repair if the opening shows structural movement, broken glass, damaged locking hardware that affects security, or signs that exterior cladding may need to be removed to correct flashing. A wet winter can turn hidden damage into visible interior staining fast, but the damage usually started earlier.
For permit questions that come up when a repair grows into replacement, see window permit requirements.
How do you compare repair quotes and replacement quotes fairly?
A fair comparison starts with scope, because the cheapest number may leave out the part that actually stops the leak. Ask each contractor to state whether the price covers diagnosis only, sealing only, trim removal, substrate repair, flashing correction, glass replacement, or full unit replacement.
- Identify the exact opening or openings included
- State whether interior and exterior trim removal is included
- Name the sealant, weatherstrip, or replacement unit type
- Clarify whether rotten material repair is included or billed as extra
- State who handles paint or finish touch-up
- List warranty terms for labor and materials in writing
Vague quotes are common on leak calls. If one proposal says “reseal window” and another says “remove trim, inspect substrate, replace damaged flashing tape, reseal, and reinstall,” they are not competing on the same scope.
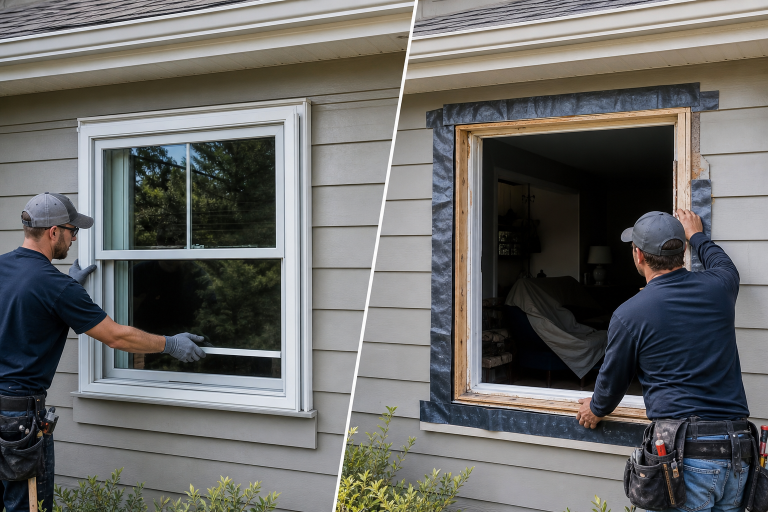
For full replacement, it also helps to know whether the proposal is for an insert unit or full-frame replacement, because those are different solutions with different levels of disruption and different ability to address hidden damage.
What is the practical step-by-step decision process?
A reliable approach is to diagnose the failure first, choose the least invasive fix that addresses that issue, and replace only when the window or door itself has failed or the opening has hidden damage.
- Inspect the exterior joints, trim, and sill area for obvious sealant failure or water path issues.
- Check operation, locking, and weatherstripping to see whether the unit still closes tightly.
- Look inside for staining, softness, or recurring moisture at the same opening.
- Decide whether the issue is consumable sealing material, failed glass, frame deterioration, or probable flashing failure.
- Get written quotes that match the actual condition rather than a generic reseal.
- Choose repair when the unit is sound and the failure is localized. Choose replacement when the product or surrounding opening is deteriorated or repeatedly leaking.
That process keeps a minor maintenance issue from turning into an unnecessary replacement, and it also keeps a serious water-management problem from being disguised by a cosmetic patch.
FAQ
Can caulking alone stop a window leak?
Sometimes it can, if the leak is coming through a failed exterior joint and the underlying frame and flashing are still sound. It will not reliably solve leaks caused by rotten framing, failed insulated glass, or missing drainage and flashing details behind the trim.
Is a drafty window always a replacement problem?
No, many draft complaints come from worn weatherstripping, small trim gaps, or hardware that no longer pulls the sash tight. Replacement is more likely when the frame is damaged, the sash is warped, or the unit cannot close and lock correctly.
Should windows be resealed before heavy winter rain starts?
Yes, pre-season sealing is worthwhile when inspection shows localized joint failure or worn weatherstripping. Doing that work before repeated storms arrive makes it easier to catch simple defects before water reaches trim, drywall, or flooring.
How do you know if a leak is coming from the window or the wall above it?
The pattern often gives it away, because water that appears at the top of the opening or several inches below it can be entering higher up in the wall. A contractor may need to inspect cladding, head flashing, and adjacent penetrations before blaming the window itself.
Is replacing one failed window normal, or should all windows be done at once?
Replacing one opening is normal when the failure is isolated and the surrounding units are still sound. A whole-house project makes more sense when many units share the same age-related problems or when the installation type needs a broader correction.
If you are trying to decide whether your wet-winter problem calls for sealing, repair, or full replacement, getting a written assessment from a qualified window and door contractor is the clearest next step. Please contact a listed specialist for a free, no-obligation discussion.
Sources: Andersen care and maintenance guidance, Pella care and maintenance guidance, Remodeling magazine 2024 Cost vs. Value Report, Angi 2025 marketplace cost data, HomeAdvisor 2025 marketplace cost data