Storm Damage Roof Repair: How to Act Fast
A storm-damaged roof needs prompt attention because water can enter through damage that may be hard to see from the ground. A missing shingle, lifted edge, punctured vent boot, or impact-damaged flashing may allow rain into the roof assembly long before a ceiling stain appears. The U.S. Environmental Protection Agency says wet materials should be dried within 24 to 48 hours to reduce mold growth, which makes quick water control vitally important rather than waiting to see whether a leak worsens.

Call for a free estimate:
Start with safety, documentation, and temporary protection. Do not climb onto a roof after hail, high winds, or a fallen tree. A damaged roof deck can be unstable, wet surfaces are slippery, and electrical hazards may be present near downed lines or damaged service equipment. If safe to do so, the goal in the first day is to stop additional water from entering, preserve evidence for the insurer, and arrange a qualified inspection.
What should you do first after storm damage to a roof?
Keep people away from the damaged area, call emergency services or the utility if power lines are down, and contact your insurer and a qualified roofing technician as soon as damage and active water entry is confirmed. The Occupational Safety and Health Administration warns that falls remain a major construction hazard, and its ladder-safety guidance reinforces why a homeowner should not attempt a post-storm roof climb.
From the ground, look for an obvious opening, displaced materials, a broken skylight, a shifted chimney cap, or damaging debris resting on the house. Use binoculars or a phone camera with zoom rather than a ladder. If a tree has struck the structure, avoid the room below it and do not try to cut or pull the tree away.
Inside, stay out of any area where a ceiling sags, plaster is cracking, or water is pooling near electrical fixtures. If water is entering around a light fixture, circuit panel, or outlet, do not touch the fixture or stand in water. Contact emergency services or a qualified electrician when there is an electrical concern.
How can you spot roof damage without taking unnecessary risks?
A ground-level exterior check and a careful indoor inspection can identify the areas that need professional review without putting you on the roof. The Insurance Institute for Business & Home Safety, in its hail-damage guidance, identifies impact damage to roofing and related components as a reason for a close assessment after a severe storm.
Check the exterior from the ground
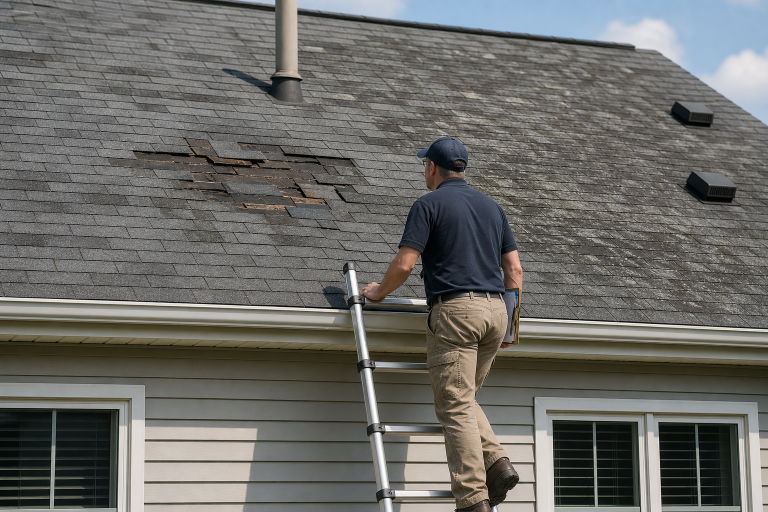
Walk the perimeter only if it is clear of downed wires, unstable branches, and debris. Photograph the entire roofline first, then take closer shots of any visible concern. Do not assume a roof is undamaged because no shingles are lying in the yard. Wind can lift and crease shingles while leaving them attached, and hail can affect the protective surface without creating a hole that is visible from below.
- Missing, torn, curled, cracked, or visibly lifted shingles
- Shingle tabs or pieces of flashing on the ground
- Dents on metal flashing, gutters, vents, or roof-mounted metal components
- Dark spots, exposed fasteners, or disturbed areas that appear different from surrounding shingles
- Damaged ridge caps, chimney flashing, skylights, soffits, fascia, or gutters
- Branches, limbs, or other debris contacting the roof or siding
Granules collected in gutters or at downspout outlets can be worth photographing, especially after hail. Granules are the mineral surface on asphalt shingles. Their presence alone does not establish a storm claim because roofs also shed granules as they age, but it gives the roofer and adjuster another item to evaluate with the roof condition.
Inspect ceilings, attic spaces, and upper walls
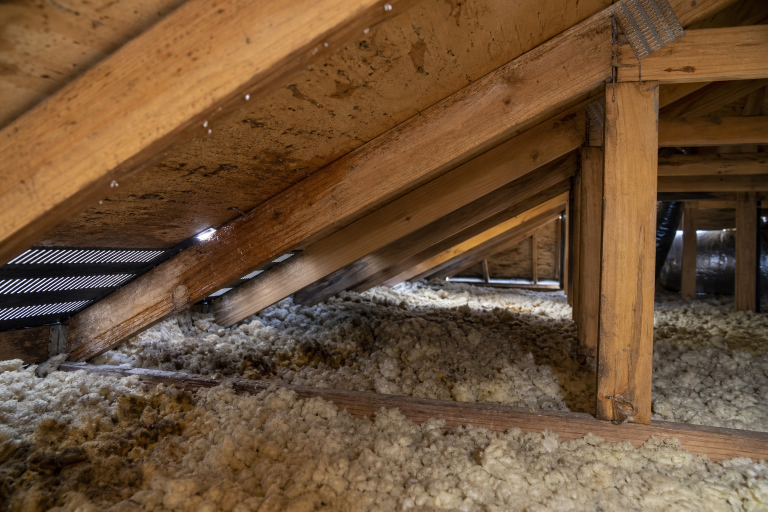
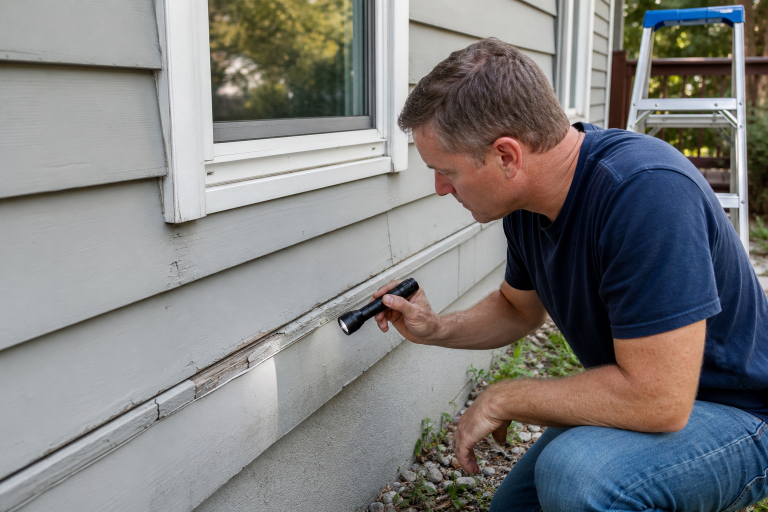
Look for fresh staining, wet insulation, damp rafters, peeling paint, bubbling drywall, or drips around penetrations such as chimneys and vents. Use a flashlight from a stable floor or attic walkway. Do not step between attic framing members or touch wet insulation, and leave any ceiling that is bowed or soft alone until a qualified professional evaluates it.
The EPA’s A Brief Guide to Mold, Moisture and Your Home advises prompt drying and repair of the moisture source. A small roof leak can spread through insulation and drywall, so visible staining may be below the actual entry point rather than directly under it.
What emergency mitigation should you arrange now?
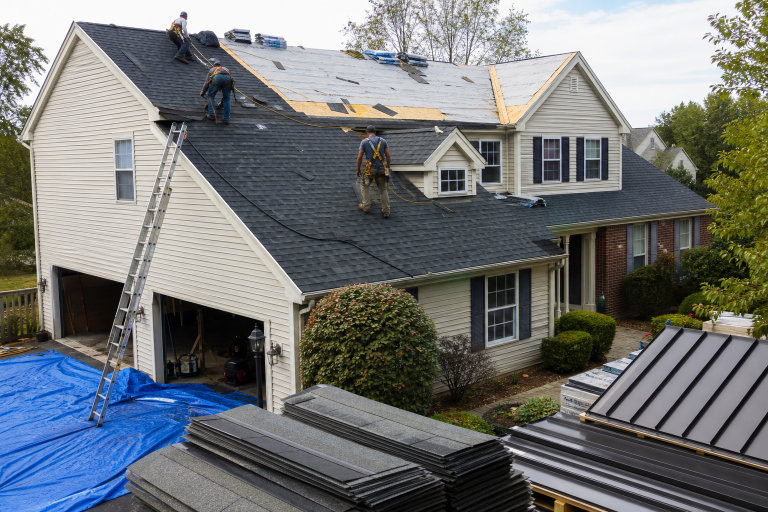
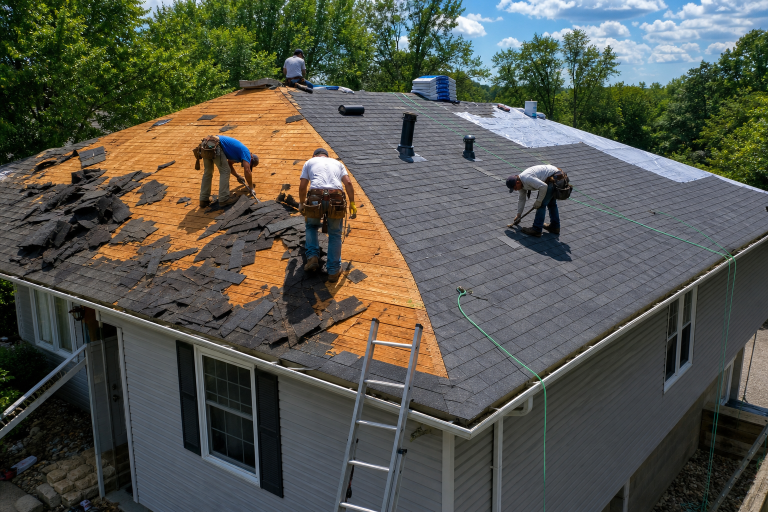
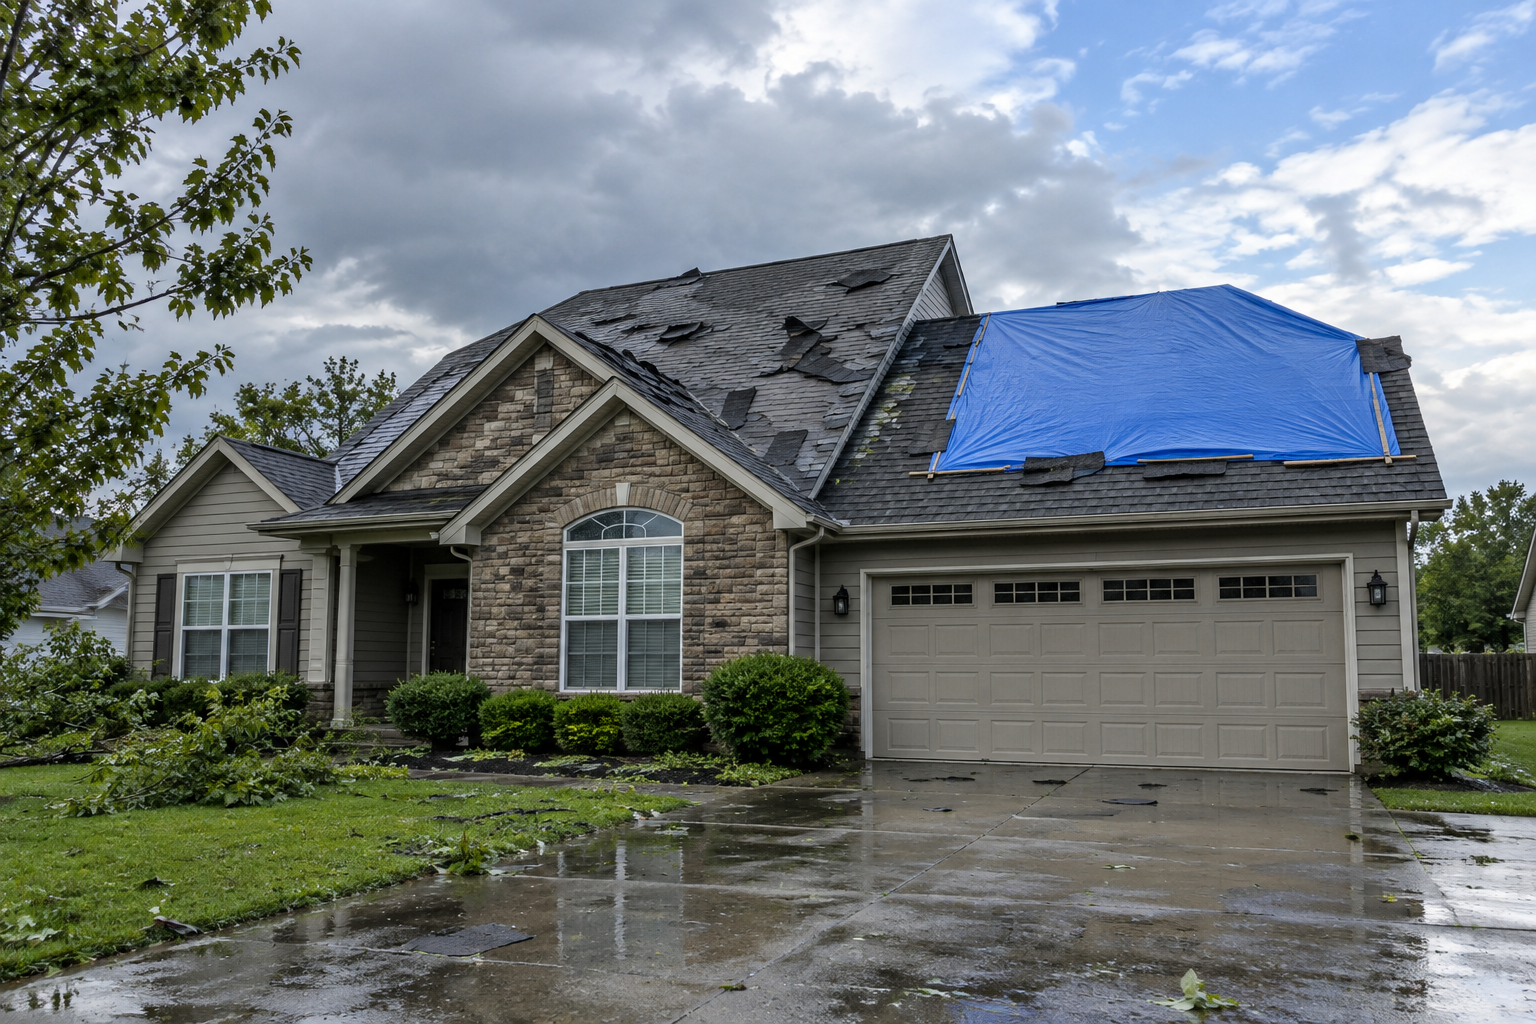
Professional emergency tarping is the appropriate next step when water is actively entering or a roof opening is visible. A roofing provider can assess whether a tarp can be secured without worsening the damage and can document the condition before temporary work begins. This is a potential situation where waiting for a routine estimate can allow additional interior damage during the next rain event.
Ask the provider to describe the temporary scope in writing. A clear emergency work order should state the affected roof area, the temporary materials proposed, the charge or billing arrangement, and whether any interior protection is included. Keep the invoice, photos, and any removed material if it is safe to retain. The Insurance Information Institute advises policyholders to protect property from further damage and retain records of reasonable mitigation expenses.
- Photograph exterior damage, interior water marks, affected belongings, and temporary protection before cleanup changes the scene.
- Record the storm date, approximate time, type of weather, and when you first noticed the damage.
- Move furniture, rugs, and electronics away from drips only when the area is safe and there is no electrical concern.
- Place containers under an ordinary ceiling drip only if doing so does not require entering a damaged or electrically hazardous area.
- Save receipts for emergency tarping, water removal, and other necessary protection measures.
- Do not authorize permanent replacement work until you understand the insurer’s inspection process and your contractor’s proposed scope.
Temporary protection should be prompt, but it should not become an open-ended repair agreement. Emergency stabilization and permanent restoration are separate decisions.
How should you document and file a roof insurance claim?
Open the claim promptly, provide a complete visual record, and give the insurer enough information to inspect the loss before permanent repairs erase the evidence. Your policy controls coverage, deductible, exclusions, and claim deadlines, so the insurer is the authority on how your particular claim will be handled.
Use a simple written log. Include the claim number, each call or email, the name of the representative, the date, what was discussed, and any promised next step. Photograph wide views before close-ups so the images show where the detail belongs. Keep original files where possible, since timestamps and unedited images can help establish the sequence of events.
- Review the declarations page for the deductible and contact information, then report the loss through the insurer’s stated claims channel.
- Describe observable damage plainly, such as water entering through a storm-damaged roof area. Do not guess at a cause you cannot verify.
- Submit requested photos, invoices, and inventory information, and retain copies of every upload and email.
- Ask when an adjuster inspection is expected and whether the insurer has any requirements for emergency mitigation documentation.
- Obtain a detailed contractor estimate that separates temporary protection, repairable items, and any recommended replacement work.
- Read any settlement document carefully before accepting it or assigning benefits to another party.
The National Association of Insurance Commissioners emphasizes documenting damage, preventing further loss where safe, and keeping claim-related records. An insurer may send an adjuster, request further information, or reach a different scope conclusion than a contractor. If those scopes differ, ask each side to identify the specific damaged components and the evidence supporting its position.
Common filing problems are avoidable: submitting only a few close-up photos, discarding damaged materials before inspection, accepting a vague estimate, or approving work that does not identify materials and quantities. A claim number is not approval, and an inspection is not the same as a coverage decision.
Call for a free estimate:
How can you avoid storm chaser roofing scams?
Choose a contractor based on verifiable local business information, a specific written scope, and your own review of the contract rather than on a doorstep promise made just after a storm. The Federal Trade Commission’s guidance on choosing a contractor advises consumers to get written estimates, check references, and avoid pressure to sign immediately.
The sudden appearance of a technician at your door is not an indication of potential misconduct, but storm conditions often attract people who rely on urgency, vague promises of “free roofs,” or an offer to handle every insurance detail before you have reviewed the paperwork. A legitimate inspection can identify damage. It cannot guarantee claim approval, waive your deductible, or turn an insurer’s payment decision into a contractor’s decision.
- Verify the business name, physical address, phone number, state licensing status where licensing applies, and insurance information through independent channels.
- Ask for a written estimate with the roof areas, materials, flashing work, ventilation changes, disposal, permit responsibility, payment schedule, and warranty terms.
- Compare at least two detailed scopes when the roof can be safely stabilized and the situation is no longer an active emergency.
- Decline contracts that leave price, materials, scope, or cancellation terms blank.
- Be cautious about large upfront payments or an assignment-of-benefits form you have not had time to read.
Local solutions are useful because a contractor remains easier to reach for inspection questions and warranty follow-up after the emergency work is finished. For a closer look at written protection after a project, read roof warranty terms explained. If the inspection shows broader age-related wear beyond the storm area, this guide to spot repair versus roof replacement can help frame the next decision.
FAQ
Should you tarp a storm-damaged roof yourself?
No, arranging professional emergency tarping is safer when a roof may be wet, punctured, or structurally compromised. Document the damage from a safe location, keep receipts, and ask the provider for a written description of the temporary work.
How long should you wait to report storm damage to insurance?
Report the loss as soon as you can document the condition and address immediate safety concerns. Your policy sets its notice requirements, while prompt reporting preserves evidence and allows the insurer to explain its inspection process.
Will a few missing shingles always require a full roof replacement?
No, a qualified inspection may find that a defined repair is appropriate if the roof deck, surrounding shingles, flashing, and matching materials allow it. Replacement becomes a separate scope question when damage is widespread, materials cannot be repaired effectively, or the insurer’s approved scope supports it.
If water is entering now or you need help comparing a written emergency scope, contact a qualified local roofing provider for an assessment and quote. Consider calling a listed specialist for a free, no-obligation discussion.