Critical Siding Inspection: How to Spot Hidden Rot or Moisture Damage Early
Focus Keyword: siding inspection

Call for a free estimate:
Siding inspection starts with looking for patterns that suggest water is getting past the outer cladding, not with tearing the wall apart. The goal is to find visible clues that point to trapped moisture or wood decay so you can decide whether simple maintenance, targeted repair, or a more invasive inspection makes sense.
That distinction matters because damaged paint, a loose board, and structural rot are not the same problem. A careful exterior review can narrow down which one you are dealing with before you pay for exploratory work.
According to the U.S. Environmental Protection Agency, moisture control is the key to preventing mold growth in buildings. According to the 2021 International Residential Code, exterior walls are required to include a water-resistive barrier behind many wall coverings and to be detailed to shed water. Those two points explain why siding problems often show up first at joints, trim, penetrations, and lower wall sections.
If your house has had recent storm exposure, roof leaks, or chronic humidity issues, related warning signs may show up in more than one part of the building envelope. Abodence has also covered attic moisture problems and roof warranty terms, both of which can intersect with siding-related moisture issues.
What are the first signs of hidden moisture behind siding?
The earliest warning signs are usually subtle changes in the siding surface, trim, or paint rather than obvious holes in the wall. You are looking for recurring staining, swelling, soft spots, peeling coatings, separated joints, or areas that stay damp longer than surrounding sections.
On wood or engineered wood siding, decay often starts where water sits or repeatedly enters. Common trouble spots include butt joints, horizontal trim tops, window heads, door surrounds, the bottom edges of walls, and any place sprinklers or splashback keep the surface wet.
On vinyl siding, the cladding itself may not rot, but underlying sheathing or framing can still be damaged. In that case, the visible clues are often warping, unusual bulges, loose panels, stained seams, or trim that no longer sits flat.
Fiber cement can also hide moisture problems behind it. James Hardie installation guidance emphasizes maintaining clearances from roofs, decks, and grade, and using proper flashing at openings and horizontal transitions. When those details are missing, water can move behind the siding system even if the face of the board still looks intact.
Surface clues that deserve a closer look
- Paint blistering, peeling, or repeated failure in one area
- Dark streaks or discoloration below joints and trim
- Caulk that keeps splitting at the same seam
- Boards or panels that appear swollen, cupped, or uneven
- Nail heads backing out or fasteners rusting in localized areas
- Trim that feels soft, crumbly, or spongy when lightly pressed
- Mildew or algae concentrated in one section rather than spread evenly
Where should you check first during a siding inspection?
The most useful places to start are the areas where water naturally enters, runs down, or gets trapped against the wall. Begin at the bottom of the wall and around all openings, then work upward and around transitions.
Windows and doors are high-value inspection points because flashing errors often show up there first. The Federal Emergency Management Agency technical fact sheet on flashing windows and doors explains that flashing must direct water to the exterior and be integrated shingle-style so water sheds outward rather than into the wall.
After openings, check roof-to-wall intersections, deck attachments, hose bibs, light fixtures, dryer vents, meter bases, and any penetration that interrupts the siding plane. Lower wall sections near mulch, patios, and driveways also deserve extra attention because splashback and poor clearance can keep those areas wet.
Best order for a walk-around inspection
- Stand back and scan each elevation for waviness, staining, or uneven lines.
- Move to window and door trim, especially lower corners and head trim.
- Inspect horizontal trim boards, belly bands, and band boards.
- Check penetrations such as vents, faucets, and electrical boxes.
- Look at roof-to-wall joints and kickout flashing locations.
- Examine the bottom course of siding and the first 12 inches above grade.
- Finish with deck ledger areas and places hidden by shrubs.
How can you tell whether siding damage is cosmetic or a sign of rot?
Localized softness, deformation, and recurring moisture marks usually point to a deeper water problem, while uniform fading or age-related wear is more often cosmetic. The key is whether the material has lost firmness, shape, or attachment in a specific area.
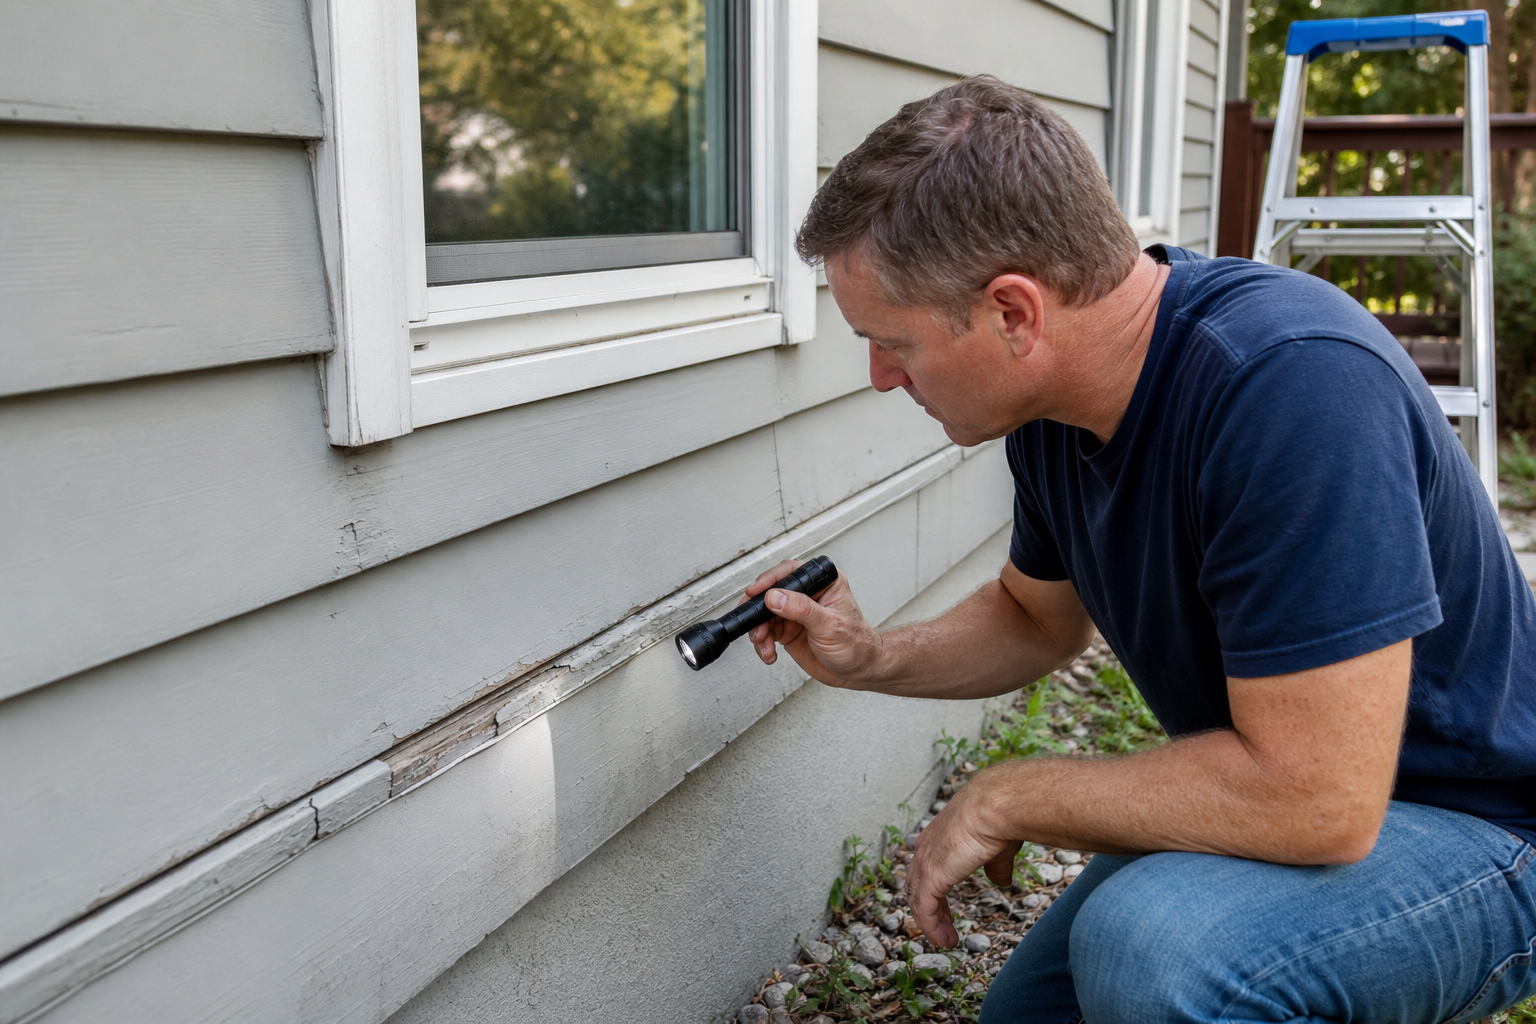
For wood-based materials, a gentle press with a fingertip on painted trim can reveal a lot. Sound wood stays firm. Deteriorated wood may compress slightly, feel punky, or break apart at edges. Keep the pressure light. The point is to observe, not to pry or puncture the surface.
For vinyl, cosmetic aging tends to look like fading or minor brittleness from sun exposure. Hidden moisture damage is more likely when the wall behind the panel looks bowed, when trim channels pull apart, or when stains appear at seams and lower edges. For fiber cement, repeated edge swelling, coating failure at joints, or movement at butt joints can suggest moisture entry, especially where required joint treatment or flashing details were missed.
According to APA, The Engineered Wood Association, wood structural panels that are repeatedly wetted can swell and lose performance, especially when moisture exposure is prolonged. That is why recurring water entry around the same wall section should be treated as a building-envelope issue, not just a paint issue.
What tools help with a siding inspection without opening the wall?
A short ladder, bright flashlight, binoculars, camera, and pinless moisture meter are the most practical non-invasive tools for a homeowner-level review. Each one helps you document patterns without damaging the siding.
A pinless moisture meter can be useful on painted wood trim, sheathing exposed in unfinished areas, or interior wall surfaces opposite a suspected leak path. Wagner Meters and Protimeter both publish guidance that moisture meters are screening tools, not stand-alone proof of hidden decay. Readings are most useful when you compare a suspicious area with a nearby dry area made of the same material.
Call for a free estimate:
Binoculars help with upper walls where you should not climb unnecessarily. A flashlight held at an angle can make swelling, surface irregularities, and raised joints easier to see. Photos are worth taking even if the issue seems minor, because changes over a few months can confirm whether moisture entry is active.
Use tools for screening, not certainty
Higher moisture readings alone do not tell you whether the source is an active leak, recent rain, condensation, or residual dampness after washing. The meter helps identify where more investigation may be justified.
What mistakes cause homeowners to miss hidden siding damage?
The most common misses happen when people focus only on the siding face and ignore the trim, flashing transitions, and clearance details around it. Water usually gets in at the edges and interruptions, not through the middle of an intact board or panel.
Another frequent mistake is treating repeated caulk failure as a simple sealing problem. If one joint keeps reopening, movement or trapped moisture may be the real issue. Adding more caulk can hide the symptom for a while without stopping the water path.
Pressure washing can also blur the picture. The Vinyl Siding Institute advises care with cleaning practices because high-pressure water can force water behind siding. If staining appears after aggressive washing, the wall may need time to dry before you can judge whether moisture is still present.
A third mistake is overlooking grade and drainage. The 2021 International Residential Code includes site drainage provisions that require surface drainage away from foundation walls. If water ponds near the house or mulch is piled against siding, the fix may start with drainage correction rather than siding replacement.
When should you call a professional for siding or moisture damage?
Professional evaluation makes sense when you find softness, recurring stains, wall bulging, interior leak signs, or damage around windows, roofs, or decks. Those conditions can involve hidden sheathing decay, flashing failure, or structural components that are not visible from the surface.
A qualified siding contractor, envelope consultant, or carpenter may recommend limited exploratory removal in one targeted area. That is often the right next step when multiple surface clues line up in the same location. Full replacement is not automatically the answer. If the problem is confined to one wall section, a targeted repair with proper flashing and replacement of damaged substrate may be enough.
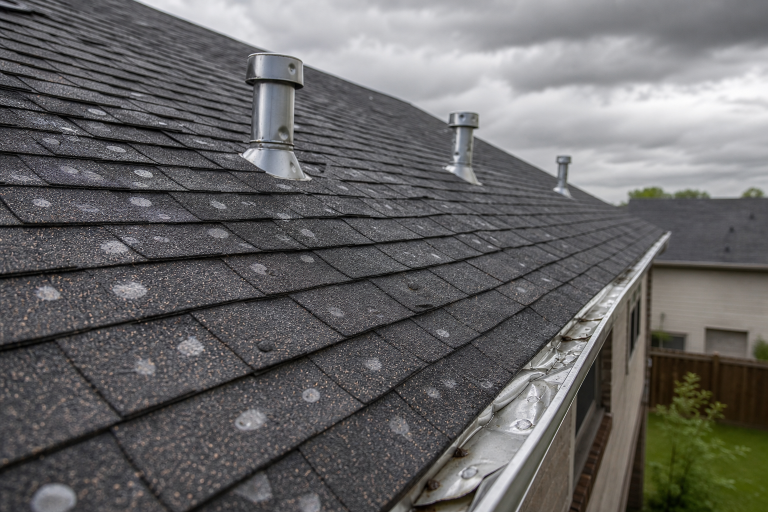
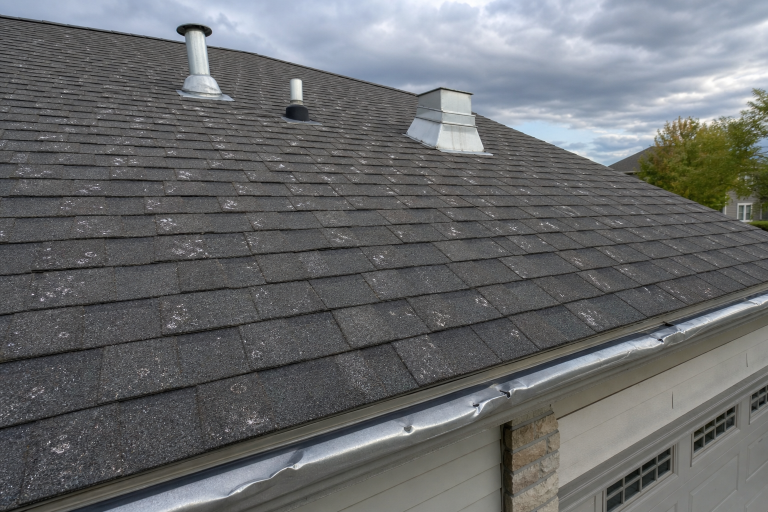
If the issue appears near a roof intersection or after hail and wind events, a broader exterior review may be warranted. In that situation, related guidance on roof hail damage signs can help you think through adjacent exterior damage patterns.
How much does it cost to investigate or repair hidden siding moisture damage?
For broad benchmark pricing, the 2025 Angi cost data for siding repair lists national homeowner-facing ranges that commonly start in the hundreds and can move into the low thousands depending on material and extent. For replacement-scale context, Remodeling magazine’s 2024 Cost vs. Value Report provides project-level siding replacement costs by material and market. Those sources are useful for ballpark planning, but neither can price the hidden condition inside your wall until the damaged section is opened.
Inspection costs vary by market and by who performs the work. Some contractors fold a visual inspection into an estimate. Independent building-envelope or forensic moisture inspections can cost more, but they may be worthwhile when the source of water is disputed or the damage appears to involve multiple systems.
What should a good siding inspection report or estimate include?
A useful report should identify the exact locations of concern, the visible evidence, the likely water entry path, and the proposed scope to confirm and repair the issue. Vague language is where many siding estimates go wrong.
Look for written notes that distinguish between observed damage and suspected concealed damage. The estimate should also say whether flashing, housewrap or other water-resistive barrier work, trim replacement, sheathing replacement, and paint or finish touch-up are included.
If the contractor expects to find more damage after removal, the estimate should explain how change orders will be handled. That is a normal part of concealed-damage work. What you want to avoid is an open-ended proposal with no unit pricing, no repair boundaries, and no explanation of what triggers added cost.
Questions worth getting answered in writing
- Which exact wall sections show evidence of moisture entry?
- What visible signs support the diagnosis?
- Will the repair include flashing corrections, not just new siding?
- What substrate materials may need replacement if damage is found?
- How will additional concealed damage be documented and priced?
- Who handles repainting or finish matching after the repair?
How do you monitor a suspicious area if you are not ready to open the wall yet?
Photos, moisture readings from the same spots, and notes after rain are the most useful way to track whether the condition is stable or active. A simple record over several weeks can tell you more than one quick look.
Take photos from the same angle and distance. Note whether stains grow after storms, whether trim gets softer, or whether joints widen over time. If the area is near an interior room, watch for new paint bubbling or baseboard staining on the inside face of that wall.
Do not cover the evidence with fresh caulk or paint until you know whether water is still getting in. Cosmetic touch-ups can make a live leak harder to diagnose.
If you need help sorting out whether a suspicious wall section calls for monitoring, targeted opening, or repair pricing, please call one of the listed specialists for a free, no-obligation discussion.
Sources: James Hardie installation instructions, APA The Engineered Wood Association, Wagner Meters, Protimeter, Vinyl Siding Institute, Angi 2025 cost data, Remodeling magazine 2024 Cost vs. Value Report