Wildfire Home Hardening: Smart Ways to Help Protect Your House
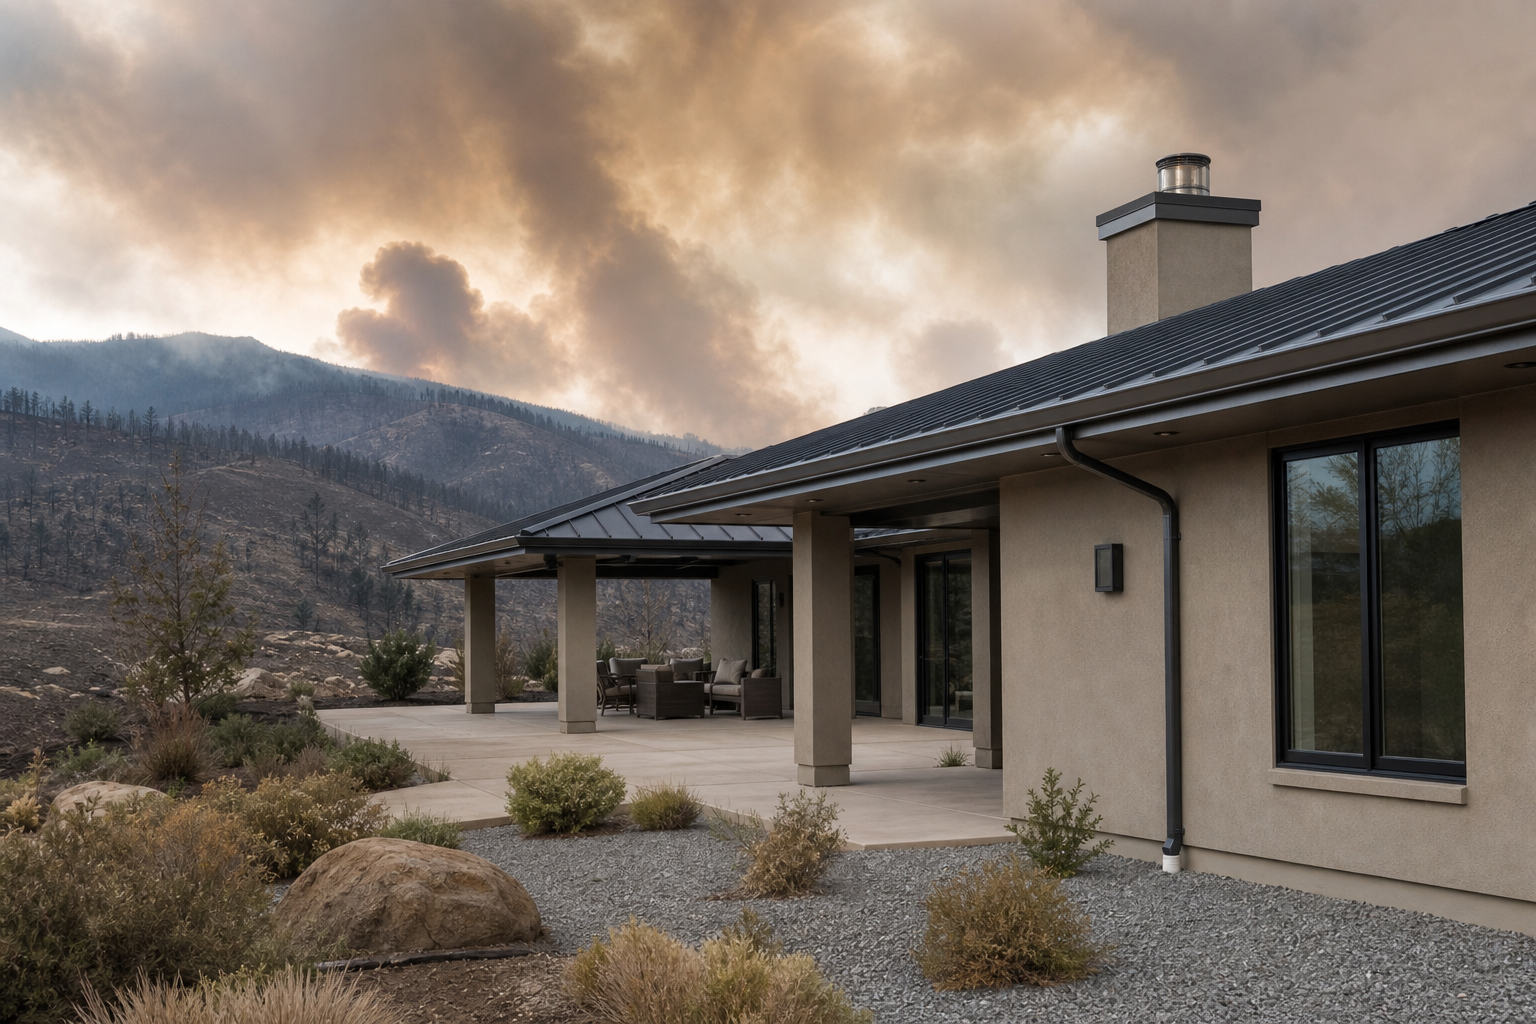
Wildfire home hardening starts with a simple fact: most houses are lost when embers, radiant heat, or direct flame find a weak point in the building envelope. According to the U.S. Fire Administration, embers can travel ahead of the main fire and ignite roofs, vents, decks, and other vulnerable areas. If you live in or near a wildfire-prone area, the most useful upgrades are usually the ones that block ember entry, reduce ignition-prone materials, and create separation between the house and nearby fuels.

Call for a free estimate:
A hardened home is not a fireproof home. It is a house with fewer easy entry points for fire and fewer surfaces that ignite from wind-blown embers. This is also one of the few upgrade categories where details matter more than appearances. A new roof, new windows, or a new fence will not help much if the assembly still leaves gaps, combustible debris traps, or exposed edges that fire can exploit.
How does fire actually get into a house during a wildfire?
Wildfire damage often begins when embers land on or enter vulnerable parts of the house, then ignite debris or combustible materials nearby. The National Institute of Standards and Technology has documented that wind-driven embers can accumulate in corners, vents, gutters, roof-to-wall intersections, and other geometric traps where ignition becomes more likely.
Three exposure types matter a lot. Embers can enter attic or crawlspace vents, lodge in leaf-filled gutters, or collect against siding and decks. Radiant heat can break windows or ignite materials close to the home even without direct flame contact. Direct flame can reach the structure when nearby vegetation, fencing, vehicles, or outbuildings burn close enough to transfer fire to the house.
Which parts of the home should you upgrade for wildfire home hardening?
High-priority upgrades are usually the roof, vents, windows, siding details, attached decks, and the first 5 feet around the house. According to the National Fire Protection Association, the area closest to the home has the strongest influence on whether embers and flames can ignite the structure.
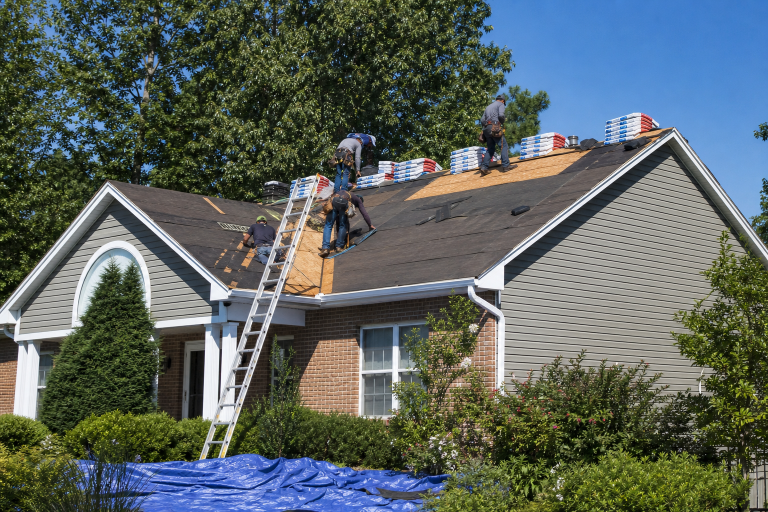
If your budget is limited, start where ignition risk is highest and where replacement timing already makes sense. For example, if the roof is near the end of its service life, replacing it with a wildfire-resistant assembly is more practical than replacing newer windows first. If your vents are older and unprotected, those may be a faster and less expensive first move than a major exterior remodel.
- Roof covering and roof edges
- Attic, crawlspace, and foundation vents
- Gutters and debris-prone roof valleys
- Windows, especially large panes and vulnerable exposures
- Siding transitions, soffits, and eaves
- Decks, stairs, and the area beneath them
- The 0-5 foot zone around the home
What roof upgrades help in a wildfire?
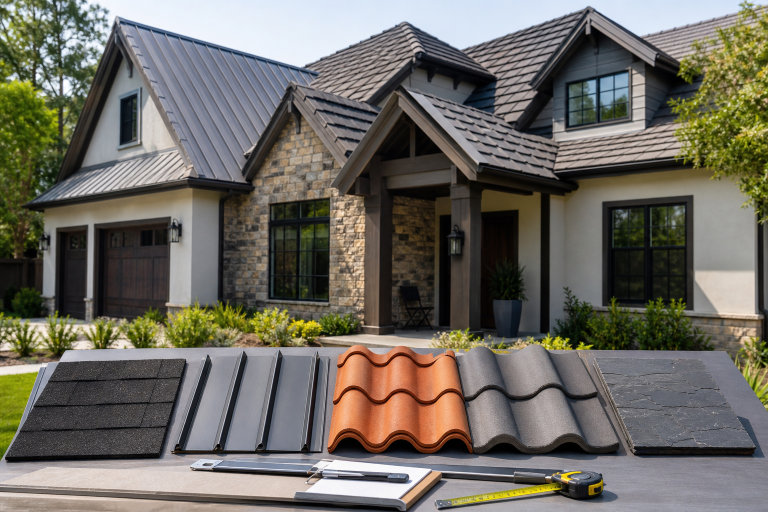
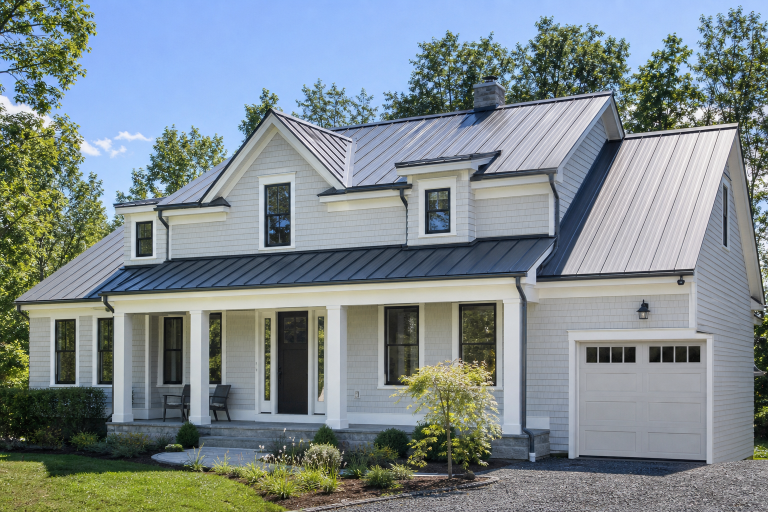
A Class A roof covering offers the highest fire-resistance classification recognized in model codes, and it is usually the first major upgrade to consider. The International Wildland-Urban Interface Code, published by the International Code Council, requires Class A roof assemblies in many wildland-urban applications because the roof is one of the most exposed surfaces during ember storms.
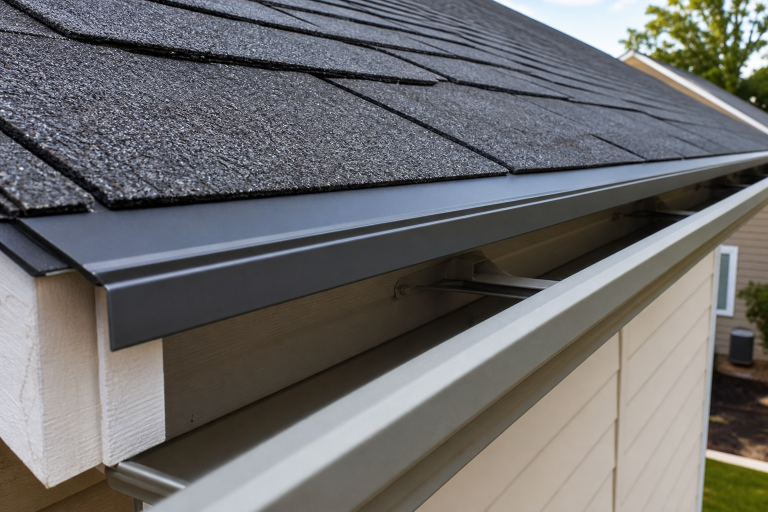
Roof covering alone is not the whole story. Wildfire exposure often exploits edges, gaps, and debris collection points. Openings where the roof meets walls, loose ridge details, damaged flashing, and leaf-filled valleys can all become ignition points. Metal drip edges, well-fitted flashing, and closed-off gaps at roof transitions help reduce those weak points.
Gutters deserve attention too. The Insurance Institute for Business & Home Safety, in its Wildfire Prepared Home guidance, emphasizes keeping roofs and gutters clear because dry debris can ignite from embers long before the main fire front arrives.
If you are already planning roofing work, it also helps to review warranty language so you know which accessories and installation details are required for coverage. Abodence explains that issue in roof warranty terms explained.
Why are vents such a common wildfire failure point?
Unprotected vents can allow embers to enter enclosed spaces where they ignite framing, insulation, or stored materials out of view. California’s Office of the State Fire Marshal has focused heavily on vent performance for that reason, especially ember- and flame-resisting vent designs used at attics, eaves, foundations, and crawlspaces.
Standard screening is often misunderstood. Very large mesh can admit embers, while very fine mesh can create maintenance and airflow issues if it clogs with dust or paint. The practical approach is to use products specifically listed or approved for wildfire exposure in your jurisdiction, then verify they are installed in the exact vent locations the product covers.
Location matters as much as the vent itself. Eave and soffit areas can trap heat and embers, while foundation vents may be exposed by burning mulch, fencing, or vegetation close to the wall.
Do windows and doors make a real difference in wildfire exposure?
Glass failure can create a major opening for ember entry and interior ignition, especially on the side of the house facing the fire. The U.S. Department of Agriculture Forest Service and IBHS both describe windows as vulnerable to radiant heat, with tempered glass generally performing better than annealed glass under wildfire exposure.
Large panes are typically more vulnerable than smaller divided openings because bigger glass areas can fail sooner under heat stress. Multi-pane assemblies, tempered glazing, and well-maintained frames improve resistance, but the surrounding details still matter. Gaps at weatherstripping, deteriorated seals, and combustible blinds or curtains close to the glass can all worsen the risk once heat exposure rises.
Doors should close tightly with good perimeter seals. Garage doors deserve a close look because they often have larger edge gaps and face the street, where wind-driven embers may accumulate.
If window replacement is already on your list, permit and code details can affect product selection and installation scope. Abodence covers that process in this guide to window permit requirements.
How can you treat siding, eaves, and soffits?
Enclosed eaves and soffits generally perform better than open assemblies that expose gaps, corners, and combustible surfaces. FEMA’s Home Builder’s Guide to Construction in Wildfire Zones identifies these transition areas as common points of ember accumulation and ignition.
Material choice matters, but detailing matters just as much. Fiber cement, stucco, brick, stone, and other noncombustible or ignition-resistant materials can reduce risk when they are installed with proper clearances and without exposed backing or open joints. A good-looking exterior can still be vulnerable if embers can reach untreated trim, open blocking, or debris-packed corners.
Call for a free estimate:
Pay attention to where the wall meets the ground. Bark mulch, wood edging, stored firewood, and combustible planters pressed against siding can turn a relatively resistant wall into an ignition point.
What can you change around decks, fences, and attachments?
Attached structures often carry fire to the home because they sit close to siding, doors, and windows. IBHS guidance on wildfire retrofits highlights decks, stairs, and fences as important pathways when they are combustible or when debris collects underneath them.
Deck boards, joists, skirting, and stair framing should be evaluated as a system. Even when the walking surface has better fire performance, leaves and needles under the deck can still ignite. Keeping the underside clear, screening or enclosing it in a code-appropriate way where allowed, and replacing combustible elements near the house can all reduce exposure.
Fences are often overlooked. A wood fence connected directly to the house can act like a fuse line. In higher-risk areas, replacing the section immediately adjacent to the home with a noncombustible gate or panel is an improvement, but replacing the entire fence would more effectively reduce risk.
What is an important landscaping change near the house?
The first 5 feet around the house should be kept as a noncombustible or very low-combustible zone whenever local guidance allows it. According to the California Department of Forestry and Fire Protection, this immediate zone should be designed to limit direct flame contact and ember ignition next to the structure.
That usually means removing bark mulch, dead leaves, wood piles, and combustible furniture from the area closest to the walls. Gravel, pavers, concrete, and well-maintained hardscape are commonly recommended because they do not provide the same easy fuel bed as dry organic materials.
Farther out, the goal shifts from noncombustible surfaces to spacing, pruning, and fuel reduction based on slope, plant type, and local fire guidance. Local fire agencies often publish zone-based defensible space rules, and those should take priority over generic national advice.
How much do wildfire home hardening upgrades cost?
Costs range from under $500 for targeted vent or debris-management upgrades to many thousands for a roof, windows, or deck replacement, depending on house size and scope. FEMA’s 2024 Homeowner’s Guide to Retrofitting includes wildfire retrofit strategies but does not set national price averages for each item, so the most accurate way to plan is to acquire a local quote rather than go by a single national figure.
Smaller projects may include ember-resistant vent replacement, metal mesh upgrades approved by local code, noncombustible gutter guards that do not trap debris, or replacing mulch and combustible items in the immediate zone. Larger projects include Class A reroofing, tempered-glass window replacement, noncombustible siding retrofits, and deck reconstruction.
If you are comparing quotes, ask for line items by assembly instead of one lump sum. That makes it easier to separate high-value fire-risk reduction work from cosmetic upgrades that can wait.
- Which components are being replaced versus reused
- Whether products are listed or approved for local WUI requirements
- How gaps, edges, flashing, and penetrations will be detailed
- What debris-prone areas will be addressed during the work
- Whether permit and inspection costs are included
Which common upgrades sound helpful but do less than people expect?
Cosmetic changes alone do little if the main ember entry points remain open. A fresh exterior paint job, a premium landscape redesign, or a partial material swap may improve appearance without changing how fire reaches the structure.
One common mistake is focusing on one visible feature while ignoring nearby weak links. New windows paired with open eaves, a Class A roof over leaf-packed gutters, or a rebuilt deck with combustible storage underneath can leave much of the original risk in place.
Another is buying products based on broad fire-resistant marketing language without checking the exact listing, test standard, or code acceptance that applies where you live.
How do you prioritize upgrades if you cannot do everything at once?
The practical sequence is to start with the biggest ignition pathways, then align larger replacements with normal maintenance cycles. For many homes, that means first clearing the 0-5 foot zone, addressing vents and debris traps, and then timing roof, window, siding, or deck work when those assemblies are due anyway.
A sensible order often looks like this:
- Remove combustible materials and debris closest to the house.
- Upgrade vulnerable vents and seal obvious ember entry points.
- Improve roof edges, gutters, and maintenance access.
- Replace the most exposed windows or doors if they are already aging or failing.
- Address attached decks, fences, and siding details that can transmit fire to the structure.
What can you ask a contractor or inspector before approving wildfire hardening work?
Clear scope language matters more than broad promises about fire safety. You want to know exactly which assemblies are being upgraded, which code applies, and how the installer will handle the small details where ember intrusion usually happens.
- Which local wildfire or WUI requirements apply to this address?
- Are the proposed products specifically approved or listed for that use?
- How will vents, flashing, soffits, and penetrations be detailed?
- What combustible materials near the house should be removed or replaced as part of the project?
- Which existing conditions could limit the benefit of this upgrade if left unchanged?
If you are planning several exterior upgrades together, coordinated design matters. Roofing, windows, siding, and ventilation work can affect one another, and an incomplete scope can leave vulnerable transition points untouched. For broader material planning, Abodence also has a useful overview of roofing materials compared.
Call for a free estimate:
Wildfire home hardening works best when it is treated as a system, not a single product purchase. If you want help sorting which upgrades are worth doing first at your house, you can call for a quote or assessment based on your current roof, vents, windows, and site conditions. Please call one of the listed companies for a free, no-obligation discussion.
Sources: Insurance Institute for Business & Home Safety Wildfire Prepared Home, National Institute of Standards and Technology, U.S. Department of Agriculture Forest Service, FEMA Home Builder’s Guide to Construction in Wildfire Zones, FEMA Homeowner’s Guide to Retrofitting, California Office of the State Fire Marshal