
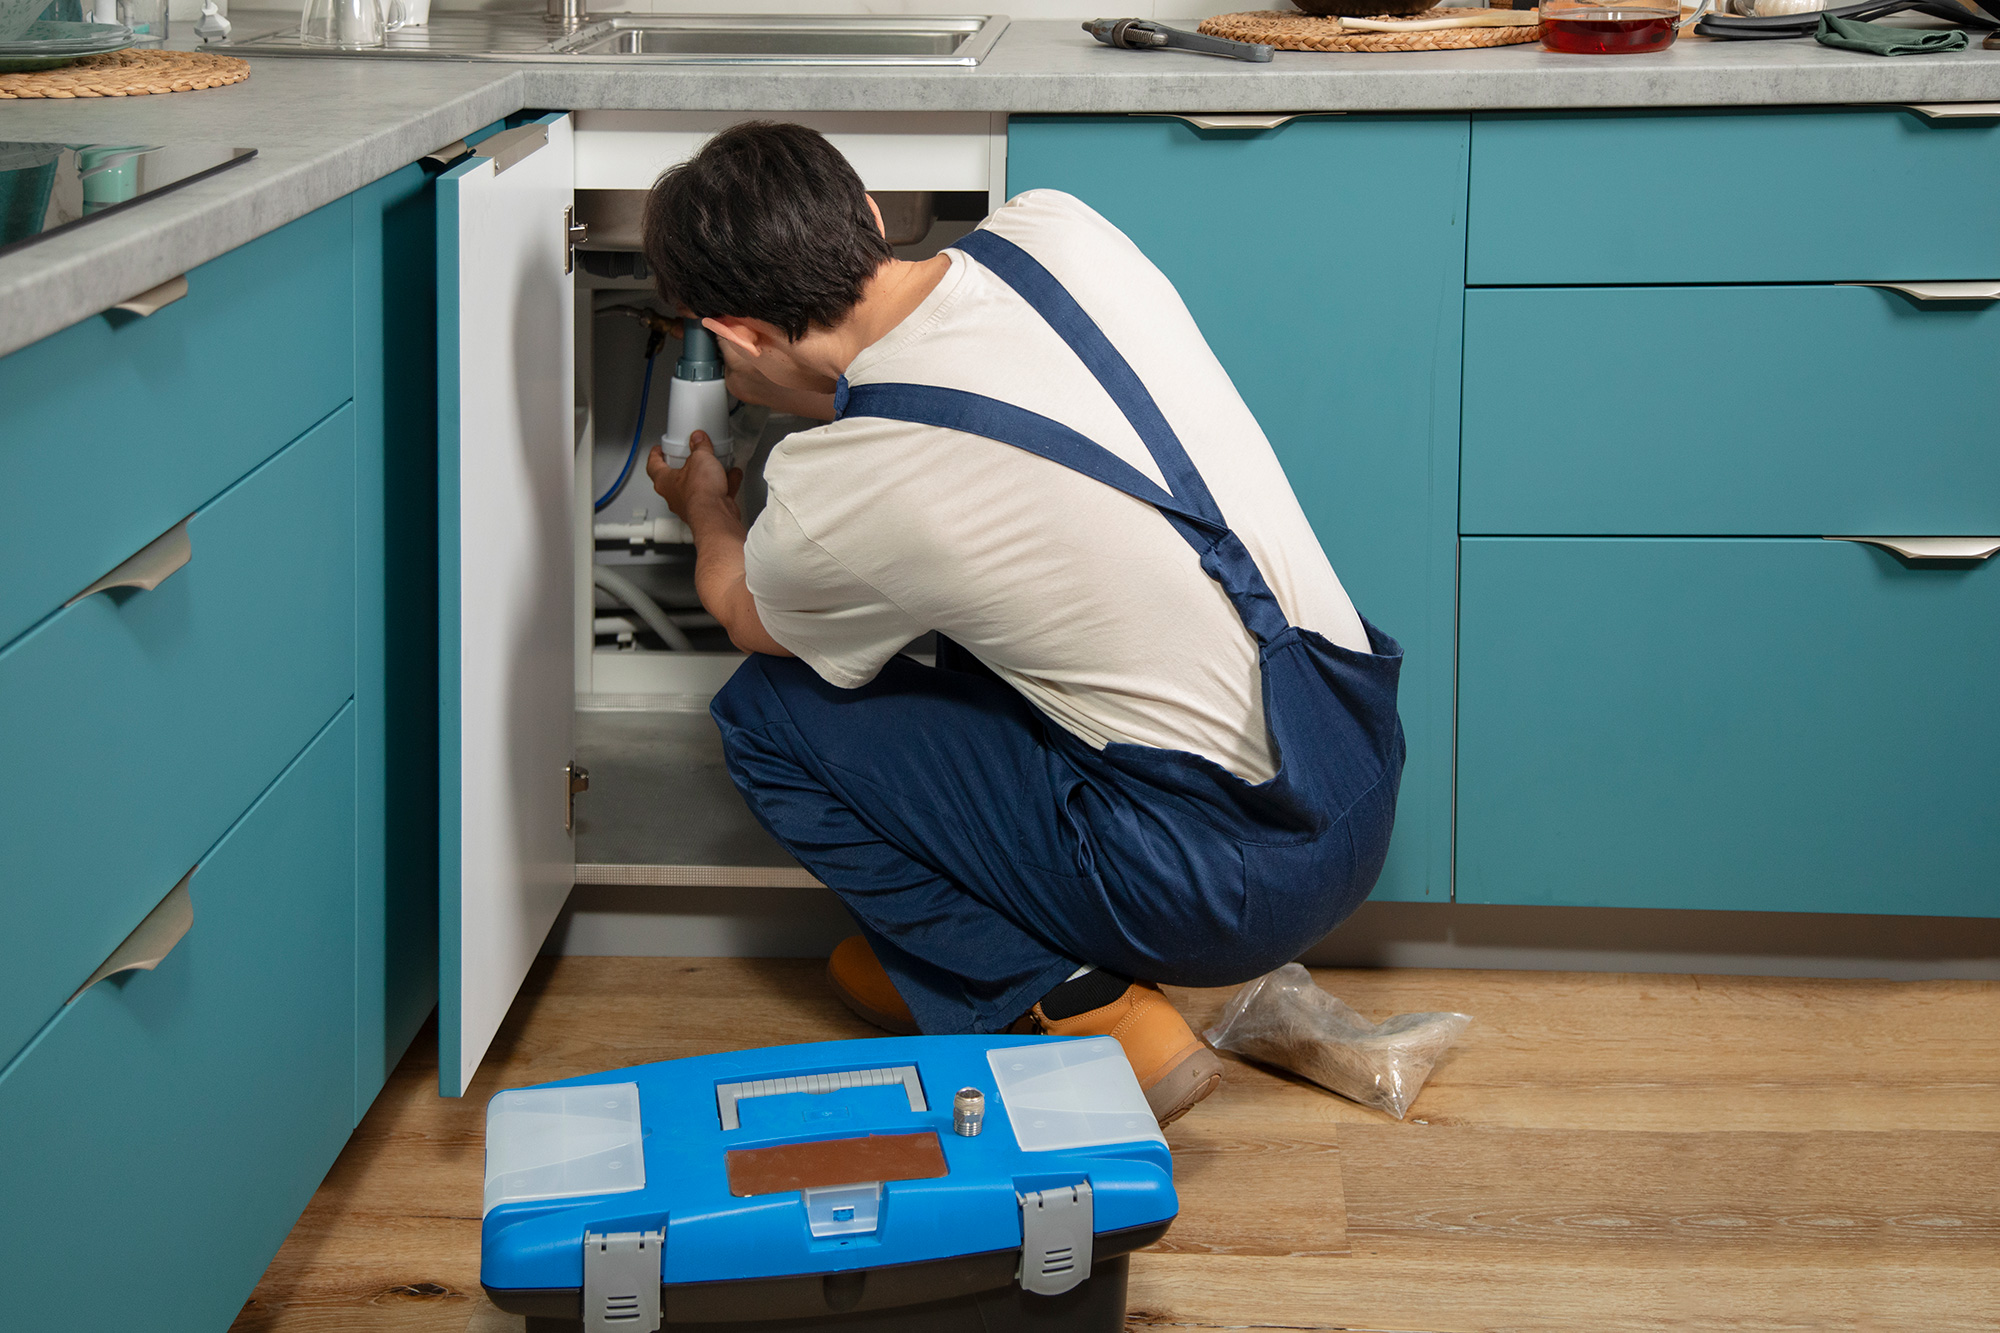
A Complete Guide to Safe and Efficient Bathroom Water Heater Installation
Installing a bathroom water heater is a significant upgrade that can dramatically improve comfort, convenience, and energy efficiency in your home. Whether you’re replacing an old unit or installing a new one, understanding the process, requirements, and safety considerations is crucial. In this comprehensive guide, we’ll walk you through everything you need to know about bathroom water heater installation, from choosing the right model to ensuring a safe and efficient setup.

Understanding the Types of Bathroom Water Heaters
Before diving into installation, it’s important to select the water heater that best meets your needs. The most common types for bathrooms include:
- Tankless (On-Demand) Water Heaters: These provide hot water instantly without storing it, saving energy and space.
- Storage Tank Water Heaters: Traditional units that keep a reservoir of hot water ready for use.
- Electric Water Heaters: Popular for bathrooms due to their compact size and ease of installation.
- Gas Water Heaters: Ideal for homes with existing gas lines; they heat water quickly and are often more cost-effective in the long run.
Consider your household’s hot water demands, space availability, and energy preferences when selecting a model.
Assessing Your Bathroom for Installation
Proper placement and preparation are key to a successful installation. Here’s what to evaluate before starting:
Space and Location
- Ensure enough clearance for the water heater, especially if it’s a tank model.
- Choose a spot with easy access for future maintenance.
- Confirm proximity to plumbing and, if electric, to a suitable power source.
- For gas heaters, check for proper ventilation and proximity to a gas line.
Structural Support
- Wall-mounted units require sturdy walls that can bear the weight when filled with water.
- Floor-standing tanks may need reinforcement if installed on upper floors.
Tools and Materials You’ll Need
Gathering the right tools and materials beforehand streamlines the installation process. Common requirements include:
- Pipe wrenches and adjustable spanners
- Plumber’s tape and sealant
- Mounting brackets and screws (for wall units)
- Screwdrivers and a power drill
- Flexible water connectors
- Electrical tester (for electric models)
- Gas leak detector (for gas models)
- Shut-off valves and pressure relief valve
Step-by-Step Installation Process
While hiring a licensed professional is highly recommended for safety and code compliance, understanding the installation steps helps you make informed decisions and oversee the process.
1. Turn Off Utilities
- Shut off the main water supply.
- Turn off power at the circuit breaker for electric units, or the gas supply for gas models.
2. Mounting the Water Heater
- For wall-mounted units, securely attach mounting brackets at the recommended height.
- Lift and hang the heater, ensuring it is level and stable.
- For floor-standing models, position the tank in the designated area with ample clearance.
3. Connecting Plumbing
- Attach cold water inlet and hot water outlet pipes using appropriate connectors and plumber’s tape to prevent leaks.
- Install a shut-off valve on the cold water line for future maintenance.
- Add a pressure relief valve as required by local codes.
4. Electrical or Gas Connections
- For electric models, connect wiring according to the manufacturer’s instructions. Use an electrical tester to confirm safe connections.
- For gas units, connect the gas supply line and test for leaks using a gas leak detector or soapy water solution.
- Ensure proper grounding and follow all safety protocols.
5. Testing and Final Checks
- Open the water supply and check all connections for leaks.
- For electric units, restore power and set the thermostat to the desired temperature (typically 120°F for safety and efficiency).
- For gas units, ignite the pilot light following manufacturer guidelines.
- Allow the heater to run and verify consistent hot water output.
Safety and Code Compliance
Plumbing and electrical work are subject to local building codes. Always:
- Obtain necessary permits before installation.
- Hire licensed professionals for gas and electrical work.
- Install pressure relief valves and ensure proper ventilation for gas heaters.
- Use GFCI (Ground Fault Circuit Interrupter) outlets for electric models in wet areas.
Energy Efficiency Tips
Maximize your investment and reduce utility bills with these tips:
- Insulate pipes to minimize heat loss.
- Set the thermostat to 120°F to balance comfort and energy savings.
- Choose ENERGY STAR®-rated units for enhanced efficiency.
- Regularly maintain your heater by flushing the tank (if applicable) and checking for leaks.
Practical Example: Electric Tankless Water Heater Installation
Let’s walk through a real-world example. Suppose you wish to install an electric tankless water heater in a small bathroom. Here’s a simplified process:
- Evaluate your bathroom’s electrical capacity—tankless models often require a dedicated 240V circuit.
- Shut off the main power supply before handling electrical connections.
- Mount the heater near the shower or sink to reduce heat loss.
- Connect cold and hot water lines using flexible hoses and secure them with plumber’s tape.
- Wire the unit following the manufacturer’s instructions and local codes.
- Restore water and power, then test by running hot water at the tap to confirm instant heating.
This process highlights the importance of proper electrical planning and leak prevention.
Common Installation Challenges and Solutions
- Limited Space: Choose compact or tankless models to fit tight areas.
- Old Plumbing: Upgrade pipes or connectors as needed to prevent leaks.
- Insufficient Power Supply: Consult an electrician to upgrade circuits for electric tankless heaters.
- Poor Ventilation: For gas units, install in a well-ventilated space or add a venting kit.
Maintenance and Longevity
Regular maintenance ensures your water heater operates efficiently and safely for years. Key practices include:
- Flushing the tank annually to remove sediment buildup (for storage tank models).
- Inspecting and replacing anode rods as needed.
- Checking for leaks or corrosion around fittings and valves.
- Testing the pressure relief valve periodically.
- For tankless units, descaling as recommended by the manufacturer.
Conclusion
Bathroom water heater installation is a rewarding project that enhances daily comfort and adds value to your home. By choosing the right model, following safety guidelines, and ensuring professional installation, you can enjoy reliable hot water while maximizing energy efficiency. Regular maintenance will keep your system running smoothly for years to come. If you’re ever unsure about any step in the process, don’t hesitate to consult a licensed plumber or electrician to guarantee a safe and code-compliant installation.